✍️ Tutorial: How to add a course on Elearn.nu
This tutorial guides you through creating a new course and configuring its essential setup steps on the Elearn.nu platform.
1. Initiate course creation
The first step is to navigate to the courses management area and begin the creation process.
- Navigate to Courses: In the left-hand side menu under the Template Library section, click on Courses to expand the menu, and then select All Courses.
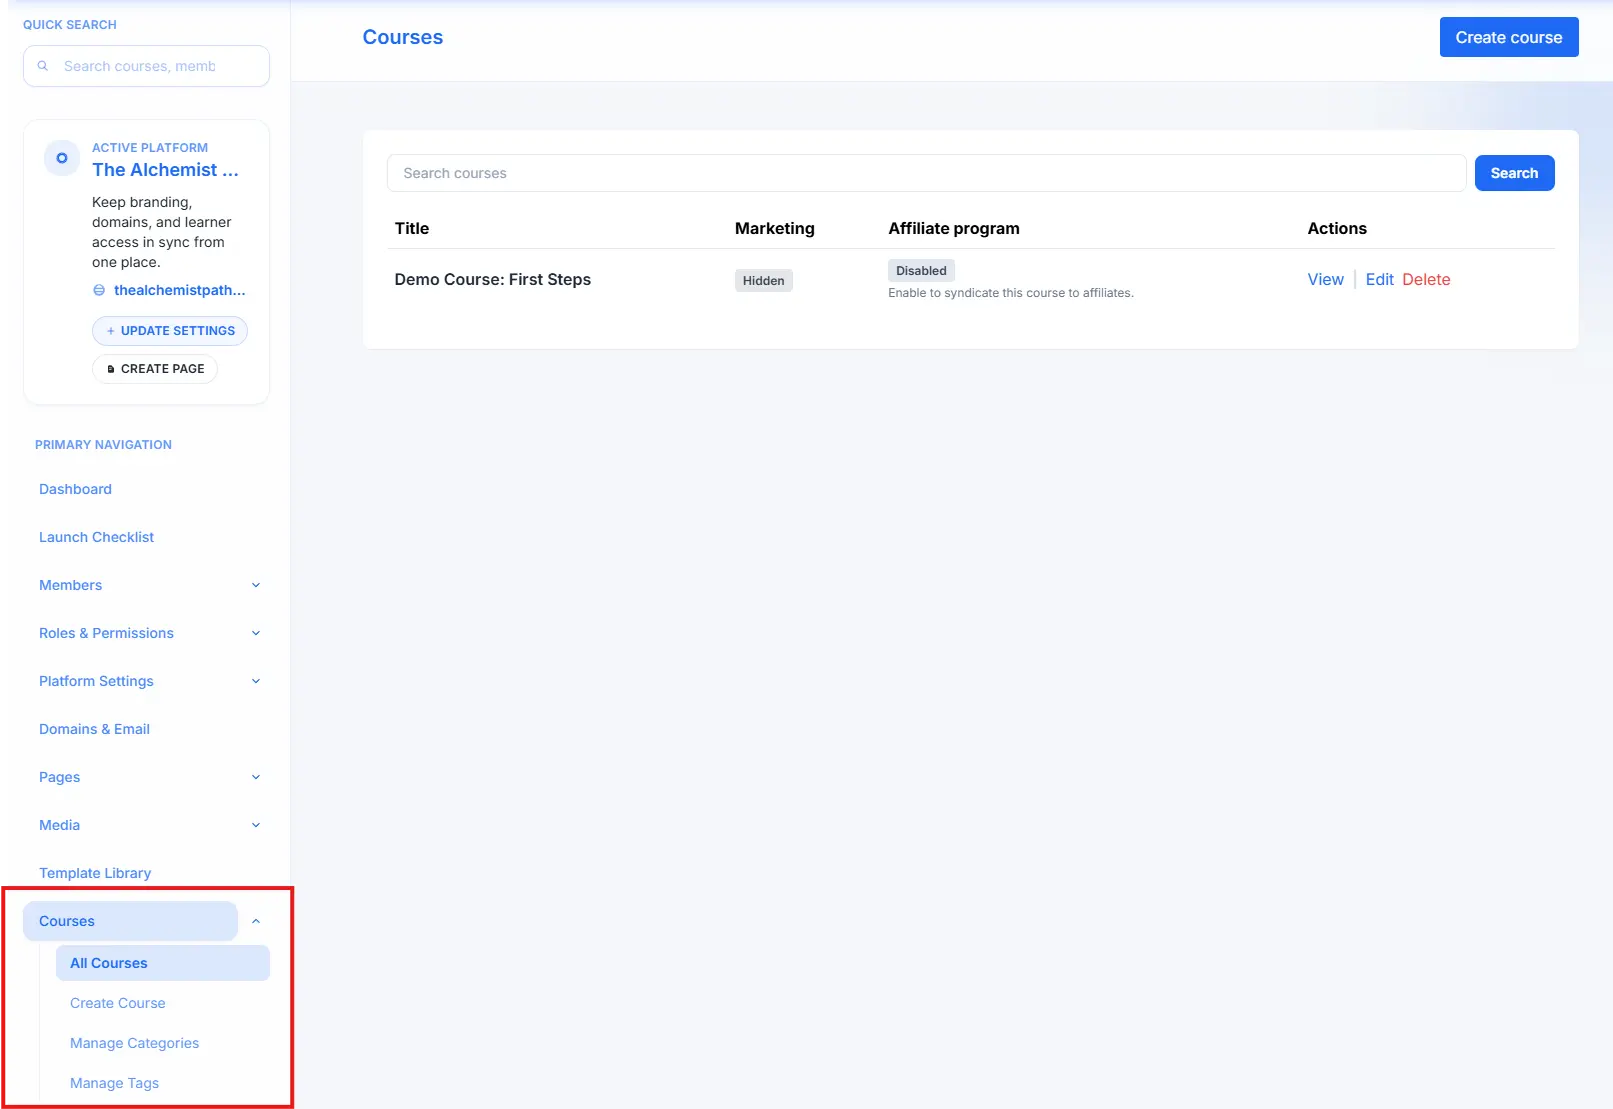
- Start a New Course: On the Courses overview page, locate and click the prominent Create course button in the top right corner.
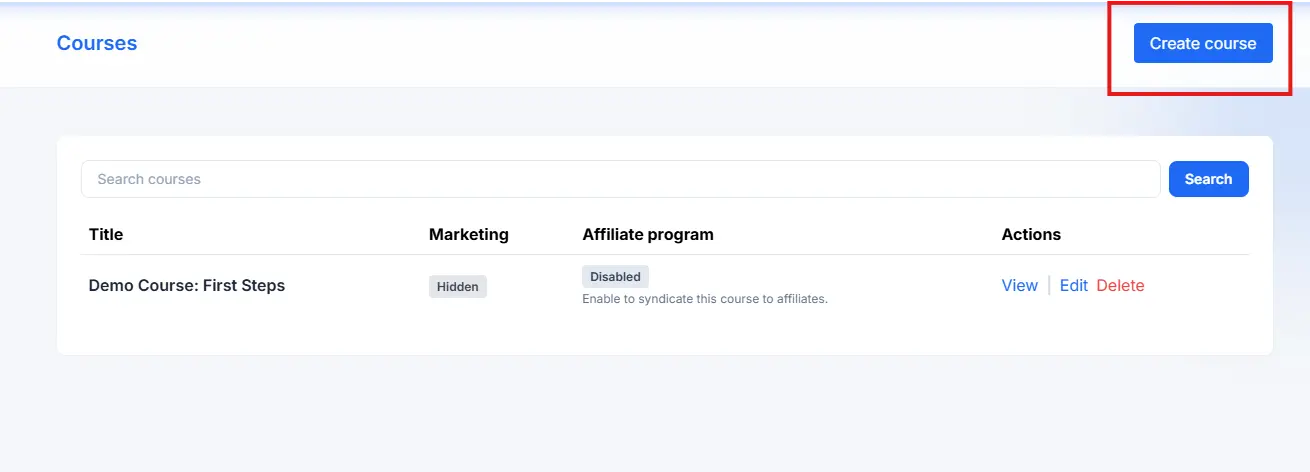
This action takes you to the Course Studio, starting with the Basics tab.
2. Configure course basics
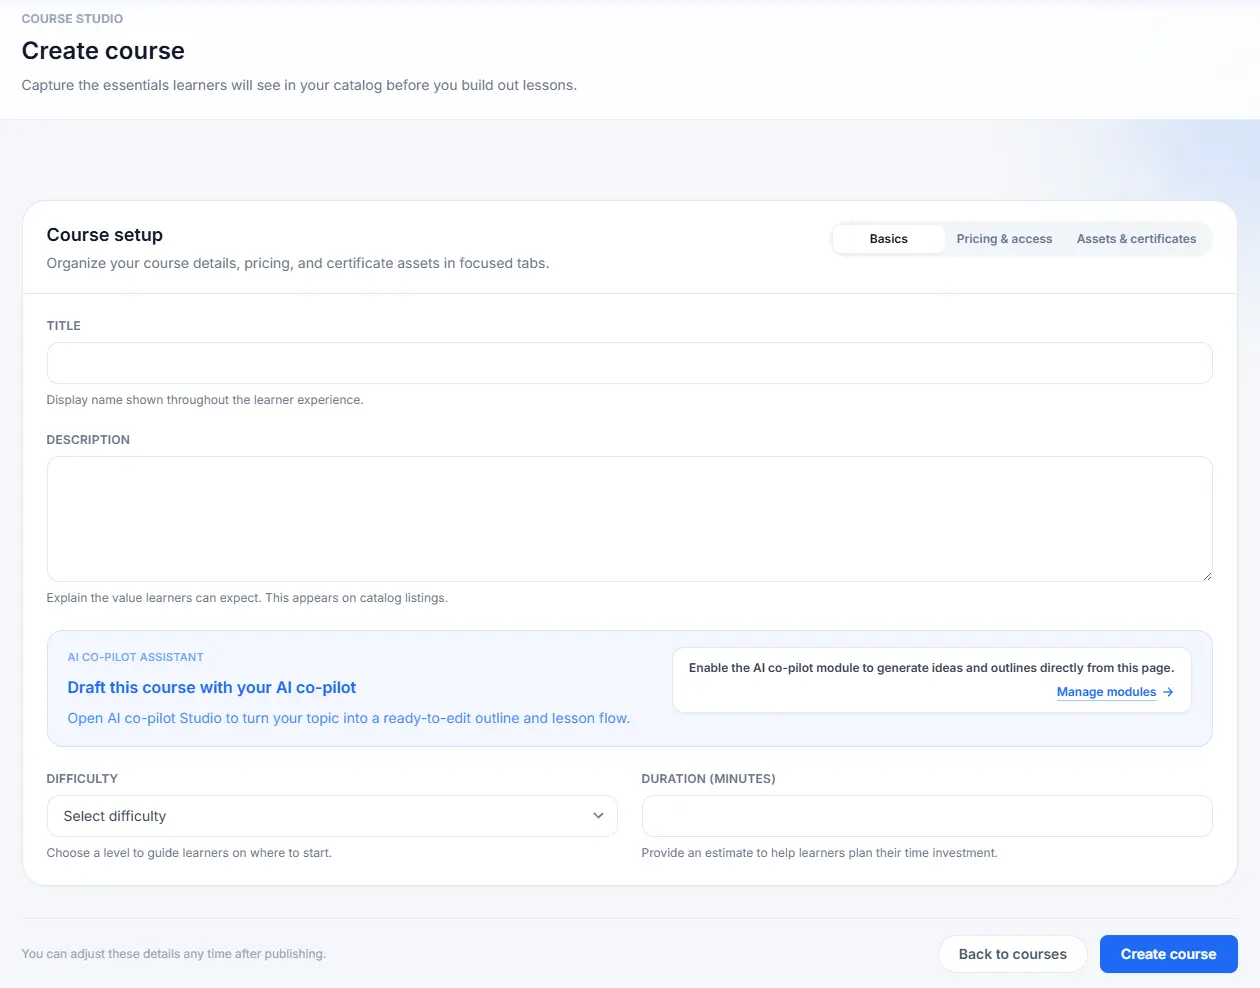
In the Basics tab, you define the core identity and overview of your course.
- TITLE: Enter the name of your course. This is displayed throughout the learner experience.
- DESCRIPTION: Provide a detailed explanation of the course content and value. This appears on catalog listings.
- AI co-pilot ASSISTANT: Use this feature to draft the course outline or generate lesson ideas.
- DIFFICULTY: Select a level (e.g., Beginner, Intermediate) to help guide learners.
- DURATION (MINUTES): Provide an estimated time investment required to complete the course.
3. Set pricing and access
Click the Pricing & access tab to set the cost and control who can enroll.
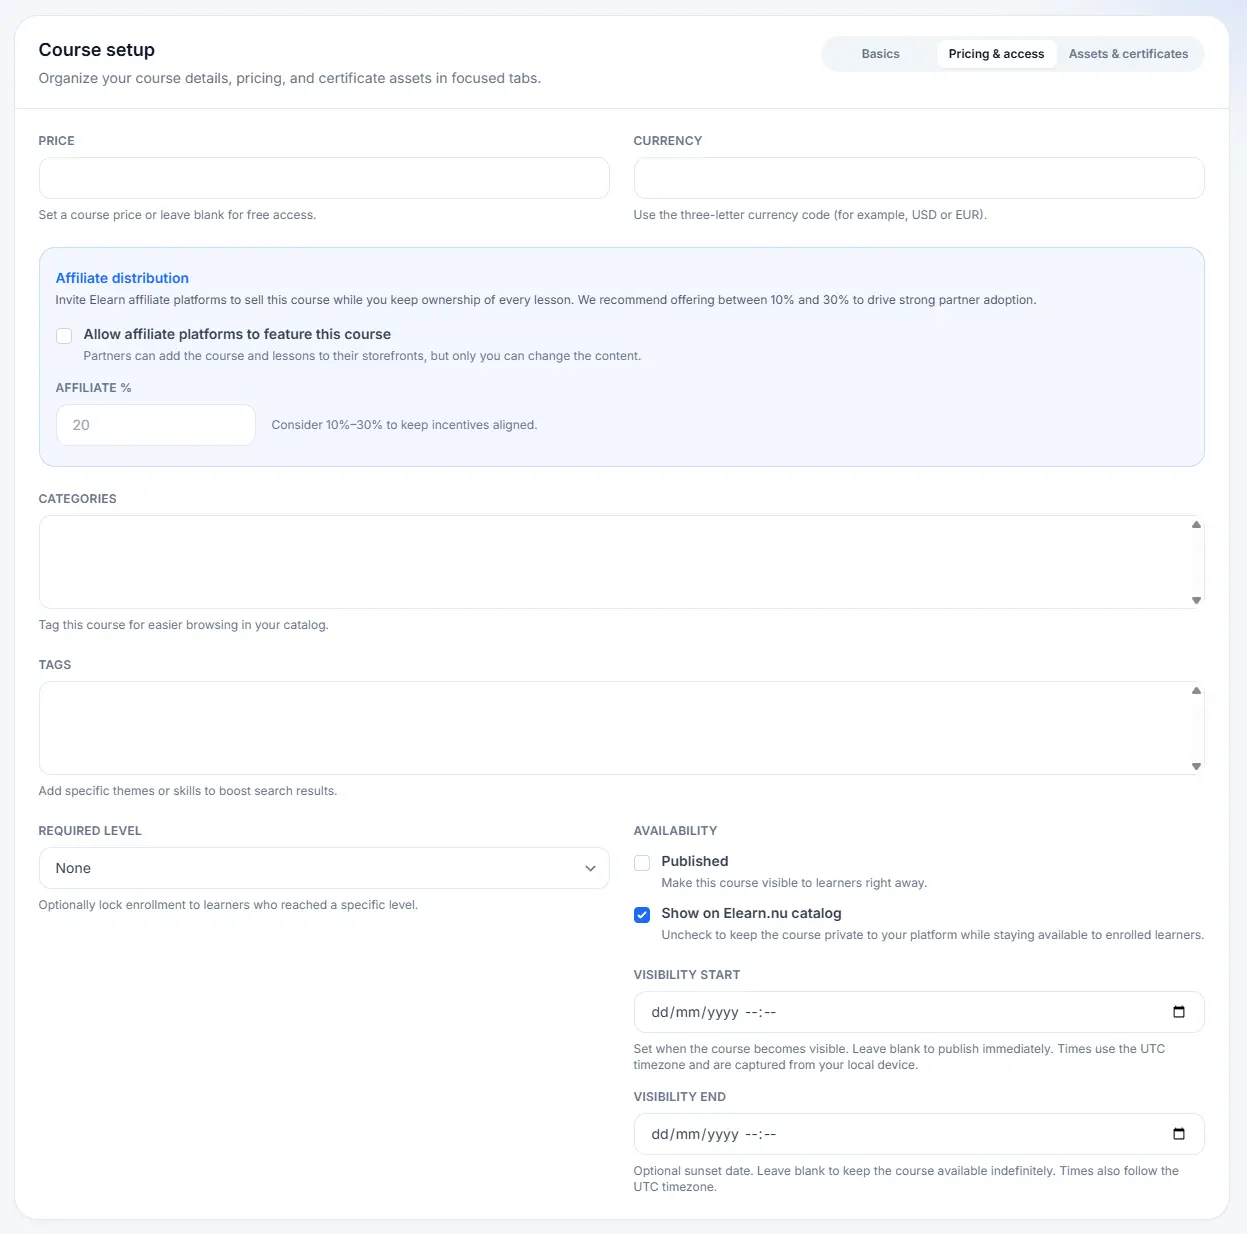
- PRICE & CURRENCY: Set a price for your course, or leave it blank for free access. Specify the three-letter currency code (e.g., USD or EUR).
- Affiliate distribution: Check Allow affiliate platforms to feature this course and set the AFFILIATE % you will offer (e.g., 20%).
- CATEGORIES & TAGS: Use these to organize your course for easier browsing and improved search visibility in the catalog.
- REQUIRED LEVEL: Optionally lock enrollment to users who have reached a platform level.
- AVAILABILITY: Check Published to make the course visible. Check Show on Elearn.nu catalog to list it publicly. Set optional VISIBILITY START/END dates.
4. Upload assets and certificate details
Click the Assets & certificates tab to upload media and set up certificate options.
- COURSE IMAGE: Upload a compelling cover image to represent your course in listings.
- CERTIFICATE TEMPLATE (PDF): Upload a branded PDF design for the completion certificate.
- CERTIFICATE SIGNER OR ISSUER: Enter the name that will appear on the generated certificates.
- CERTIFICATE SIGNATURE (IMAGE): Upload an optional signature image.
- SIGNATURE HORIZONTAL/VERTICAL POSITION (%): Set the precise coordinates (e.g., 37.5 and 70) for where the signature image should appear on the certificate template.
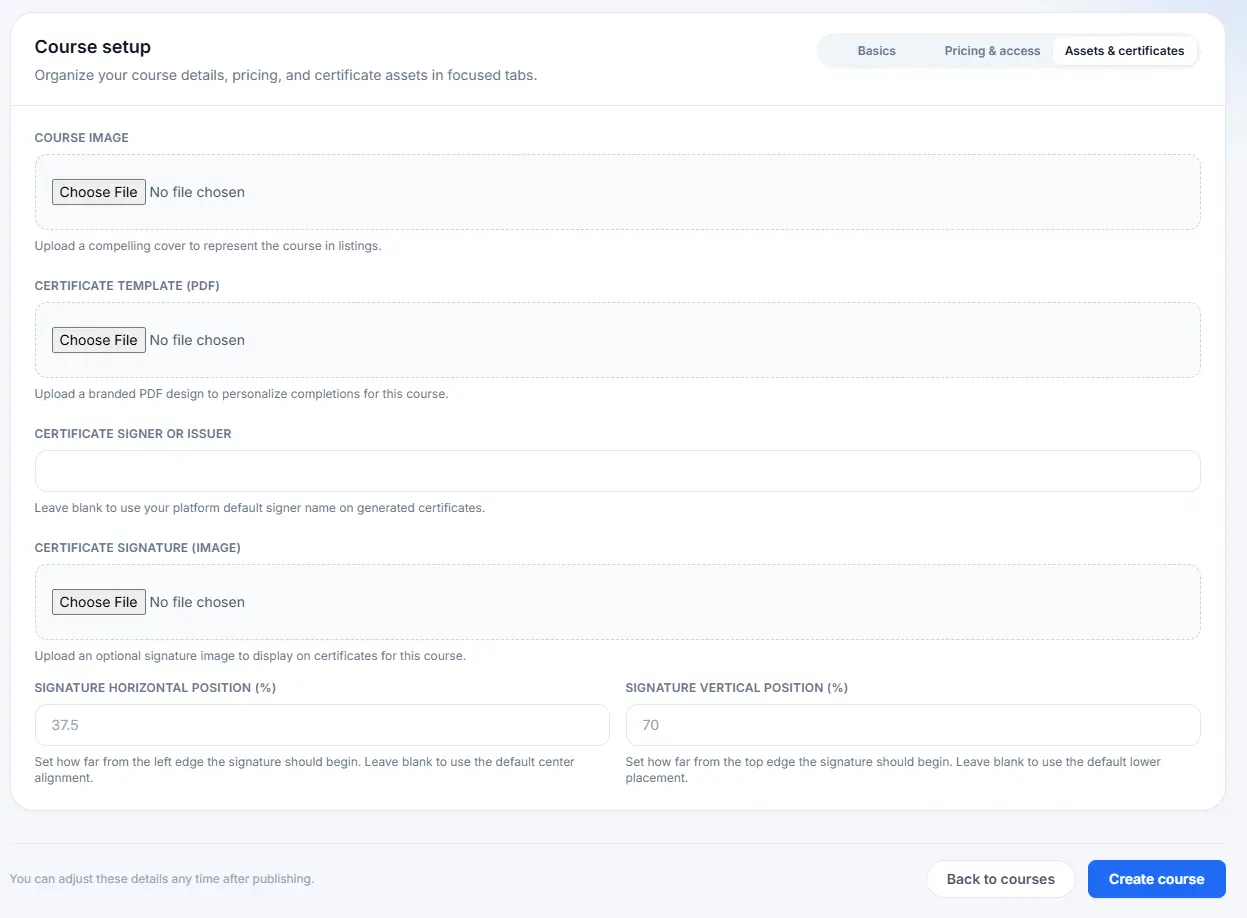
Once all settings across the tabs are complete, click the Create course button at the bottom of the page to finalize your initial course setup.